

The cowl panel, a critical component in vehicle structure and aesthetics, requires careful consideration during collision repair. Damage like dents or cracks can lead to structural issues if not addressed promptly, emphasizing the importance of accurate dent removal and alignment. Replacing a damaged cowl panel not only restores visual appeal but also ensures optimal performance and safety. A systematic approach, starting with workspace setup and ending with secure mounting after proper inspection, is essential for successful replacement. Common mistakes include misalignment and inadequate sealing, which can lead to corrosion; using high-quality products and taking time for alignment ensure long-lasting repairs.
“Elevate your vehicle maintenance game with this comprehensive guide on cowl panel replacement. The cowl panel, a critical component of your car’s exterior, plays a pivotal role in protecting vital components while enhancing aesthetics. This article equips you with essential knowledge to tackle replacements effectively.
From understanding the cowl panel’s function to providing a step-by-step process and highlighting common repair mistakes, we ensure a smooth, successful cowl panel replacement experience. Master these techniques and bid farewell to costly, avoidable errors.”
- Understanding Your Vehicle's Cowl Panel and Its Function
- Step-by-Step Guide to Seamless Cowl Panel Replacement
- Common Mistakes to Avoid During and After Cowl Panel Repair
Understanding Your Vehicle's Cowl Panel and Its Function

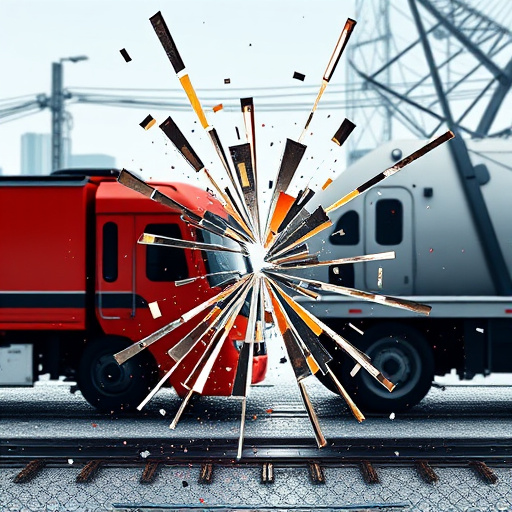
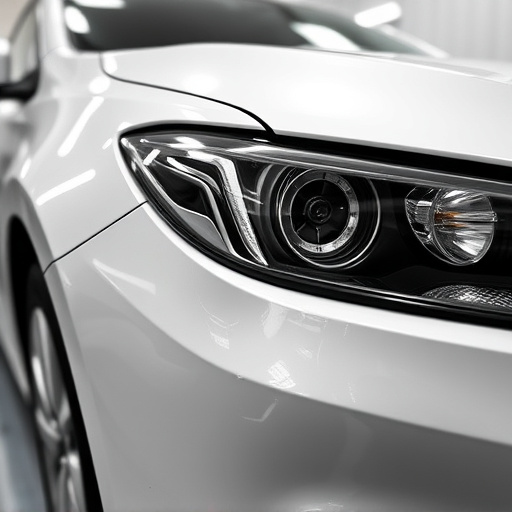
The cowl panel, often overlooked yet integral to your vehicle’s structure and aesthetics, plays a significant role in protecting vital components beneath it. This panel serves as a shield, safeguarding engines, radiators, and other mechanical systems from external impacts and debris. A crucial aspect of automotive collision repair, understanding the cowl panel’s function is the first step in ensuring proper replacement during any repair process.
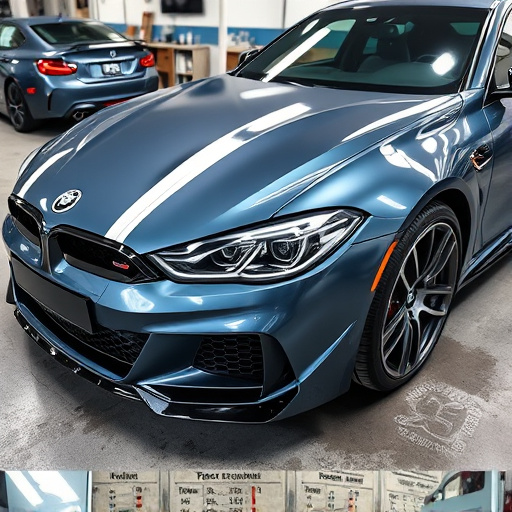
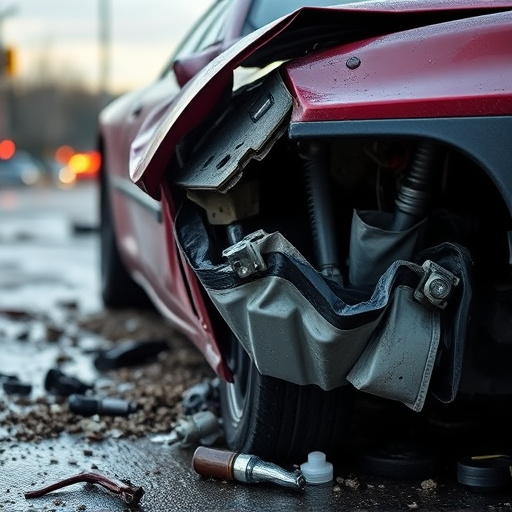
During a collision or accident, the cowl panel can sustain damages like dents, cracks, or complete separation. Prompt dent removal and accurate alignment are essential to prevent further structural issues. Replacing a damaged cowl panel not only restores your vehicle’s aesthetic appeal but also guarantees optimal performance and safety. A well-executed cowl panel replacement at a reliable collision center can effectively reverse the effects of an accident, returning your vehicle to its pre-incident condition.
Step-by-Step Guide to Seamless Cowl Panel Replacement
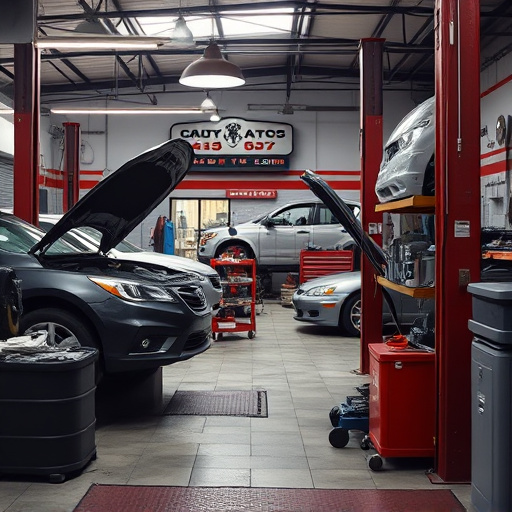
Replacing a cowl panel is a crucial task for any vehicle owner aiming to avoid common repair mistakes and maintain their vehicle’s integrity. Here’s a straightforward, step-by-step guide designed for a seamless cowl panel replacement process.
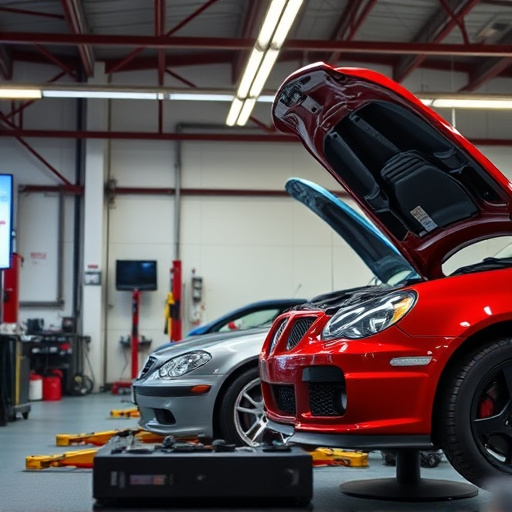
Begin by preparing your workspace in a vehicle body shop. Ensure proper lighting and safety equipment are in place. Remove any loose debris from the area around the cowl panel to prevent foreign objects from damaging new parts. Next, carefully disassemble the surrounding components, taking note of their placement for easy reassembly. With the old cowl panel exposed, inspect it thoroughly to identify any underlying issues that may have contributed to its deterioration. Once satisfied, remove the damaged panel, taking care not to bend or deform the surrounding frame. Replace it with the new panel, ensuring a tight fit by double-checking all alignment and mounting points. Before final installation, check for proper frame straightening and secure all fasteners tightly. This meticulous approach guarantees a successful cowl panel replacement, preserving your vehicle’s bodywork and aesthetic appeal.
Common Mistakes to Avoid During and After Cowl Panel Repair
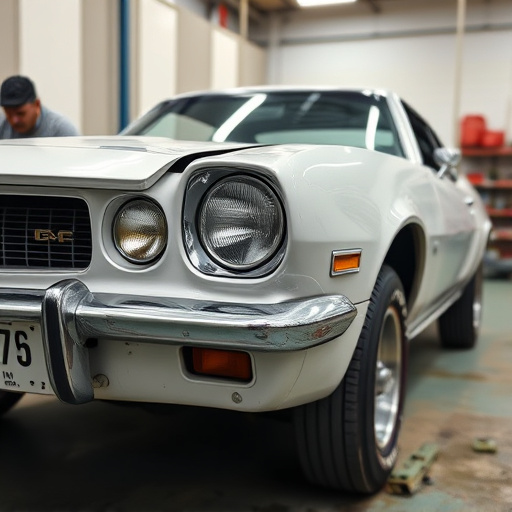
During a cowl panel replacement, there are several common mistakes that vehicle owners should be aware of to ensure a successful and long-lasting repair. One frequent error is not properly aligning the new panel with the existing car bodywork. This misalignment can lead to an unsightly finish, affecting the overall aesthetics of the vehicle. It’s crucial to take your time and double-check the alignment before securing the panel to avoid this issue.
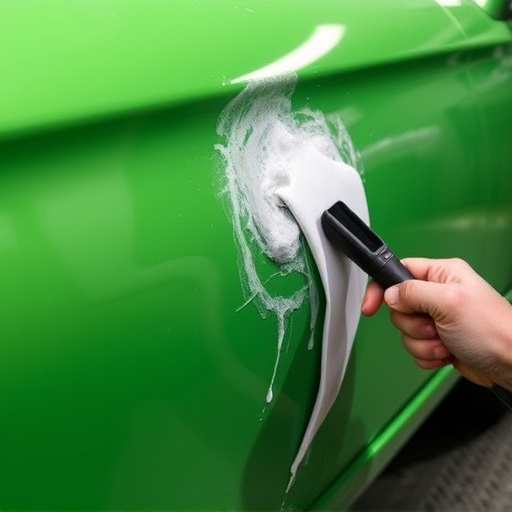
Another mistake to avoid is inadequate sealing during cowl panel replacement, which is a common consequence of rushed or poorly executed repairs. A proper seal is essential to prevent water intrusion and corrosion in the long term. After the replacement, ensure all seams and joints are sealed correctly using high-quality automotive sealing products. This step will protect your vehicle from potential damage caused by car dents or vehicle collision repair mishaps, ensuring a more durable and reliable result.
Cowl panel replacement is a crucial task for any vehicle owner aiming to avoid common repair mistakes. By understanding your vehicle’s cowl panel function and following a meticulous step-by-step guide, you can ensure a seamless process. Remember, avoiding mistakes post-repair is just as vital; proper installation and maintenance will safeguard the longevity of your vehicle’s integrity. Embrace these insights, and you’ll be well-equipped to tackle cowl panel replacement with confidence.