


The cowl panel, a vital component linking exterior shell and mechanical core, protects the engine bay for both aesthetics and function. Its role in temperature regulation and drag reduction impacts vehicle performance. Proper cowl panel replacement, crucial for high-performance or modified vehicles, maintains structural integrity and cooling efficiency, preventing damage from road debris. This process involves replacing a dented, cracked, rusted, or water-damaged panel, ensuring engine and interior protection. It restores functionality, improves air circulation, enhances cooling, and provides easier access for maintenance. A detailed guide emphasizes each step for effective cowl panel replacement.
Looking to enhance your custom or performance vehicle’s aesthetics and functionality? Consider a cowl panel replacement—a key component in vehicle design that can significantly impact both style and performance. This guide delves into the importance of the cowl panel, common issues it addresses, and the benefits for modified vehicles. We provide a comprehensive step-by-step process to ensure a successful replacement, offering valuable tips for best practices in cowl panel maintenance and customization.
- Understanding the Cowl Panel: Its Function and Importance in Vehicle Design
- Why Replace a Cowl Panel? Common Issues and Benefits for Custom and Performance Vehicles
- Step-by-Step Guide to Effective Cowl Panel Replacement: Tips and Best Practices
Understanding the Cowl Panel: Its Function and Importance in Vehicle Design

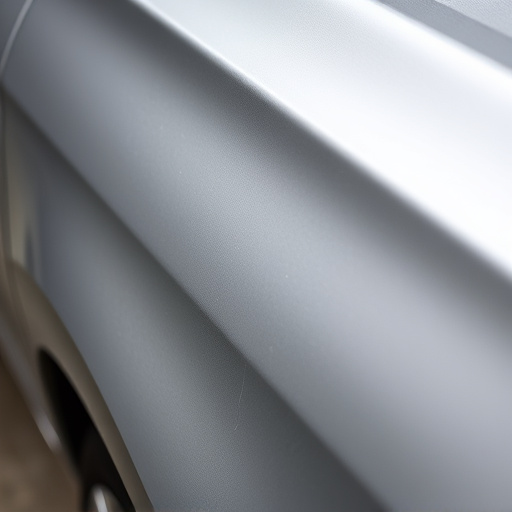
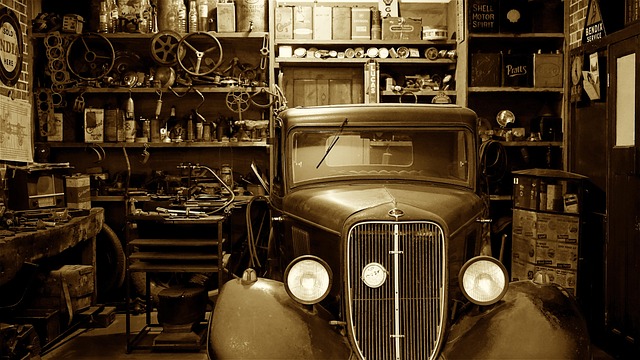
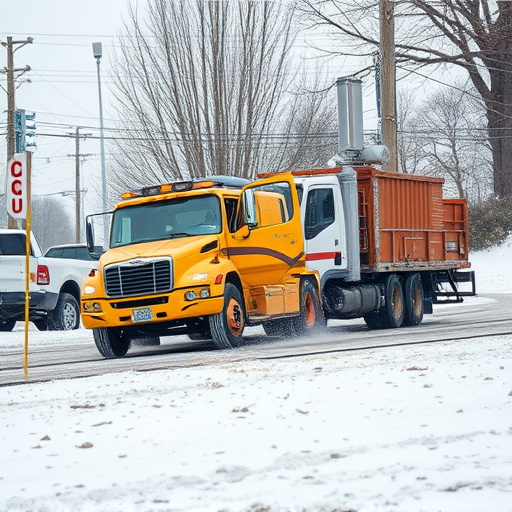
The cowl panel is a significant component in both custom and performance vehicle designs, serving as a crucial link between the car’s exterior shell and its mechanical core. Its primary function is to enclose and protect the engine bay, ensuring a clean and aesthetic appearance while channeling airflow efficiently. A well-designed cowl panel not only enhances the vehicle’s overall aesthetics but also contributes to optimal performance by managing temperature regulation and reducing drag.
In automotive repair, especially when dealing with modified or high-performance cars, proper cowl panel replacement is essential. Damage or degradation of this panel can lead to a host of issues, from compromised structural integrity to reduced engine cooling efficiency. Therefore, when considering any car body repair, paying close attention to the cowl panel—its role in vehicle paint repair and overall automotive repair—is vital for maintaining both the beauty and performance of your custom or high-performance ride.
Why Replace a Cowl Panel? Common Issues and Benefits for Custom and Performance Vehicles
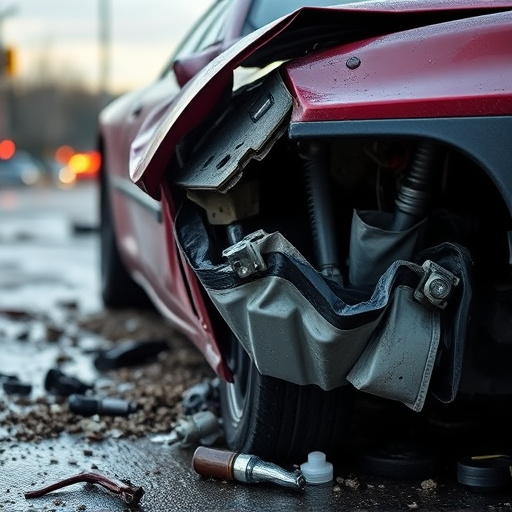
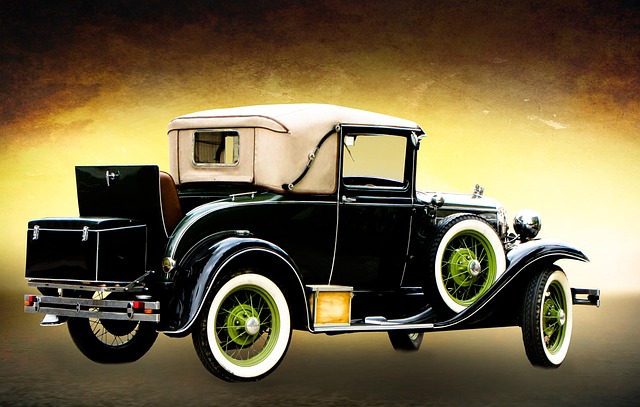
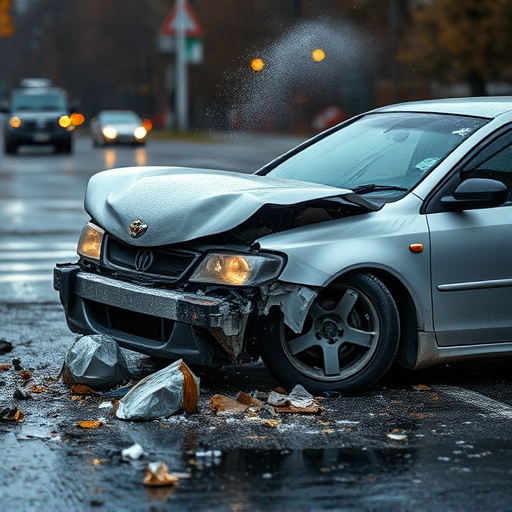
Replacing a cowl panel is an essential step for vehicle owners looking to maintain and enhance their custom or performance cars. The cowl panel, located between the engine bay and passenger compartment, plays a crucial role in protecting sensitive components from road debris and other potential damage. Over time, it can become damaged due to accidents, extreme weather conditions, or normal wear and tear, leading to various issues.
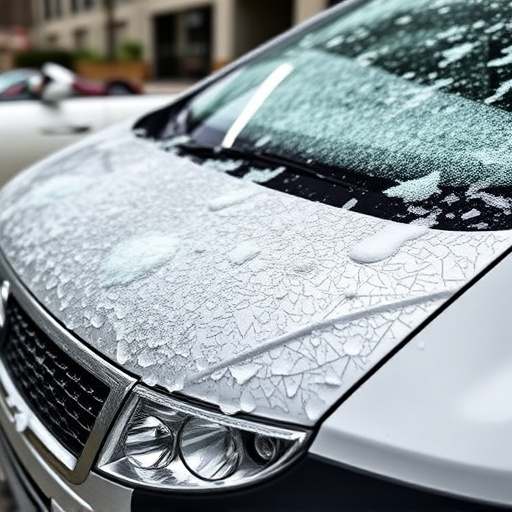
Common problems associated with cowl panels include dents, cracks, rust, and water intrusion, which not only compromise the aesthetic appeal but also affect the structural integrity of the vehicle. By replacing the cowl panel, owners can prevent further damage to the engine and interior, ensuring optimal performance and longevity. This process is particularly beneficial for custom vehicles, where unique designs and modifications may leave certain areas more vulnerable. A new cowl panel not only restores functionality but also allows for better air circulation, cooling efficiency, and, in some cases, facilitates easier access for maintenance tasks at the automotive body shop.
Step-by-Step Guide to Effective Cowl Panel Replacement: Tips and Best Practices
Cowl panel replacement is a crucial step in maintaining your custom or performance vehicle’s aesthetics and functionality. Here’s a step-by-step guide to ensure the process is done effectively, preserving both the look and integrity of your vehicle.
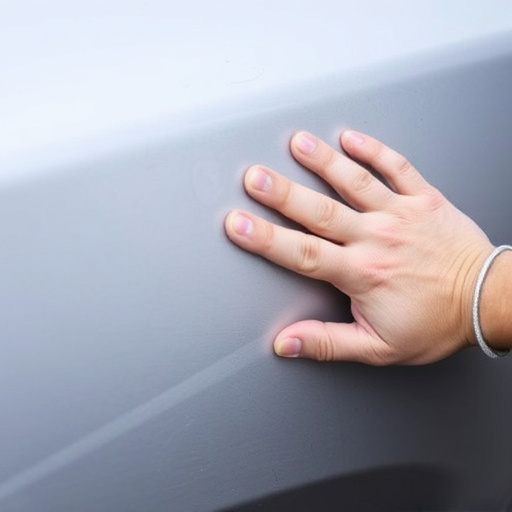
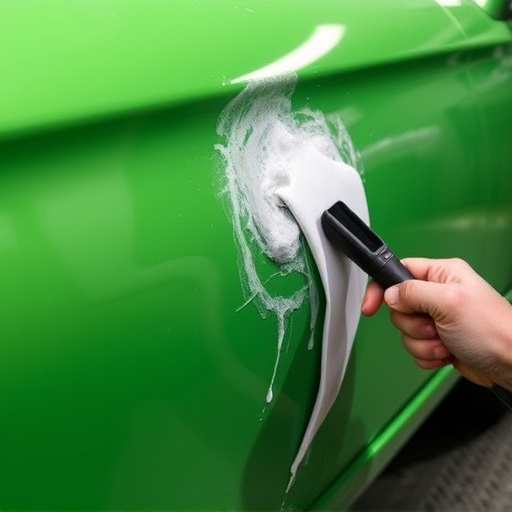
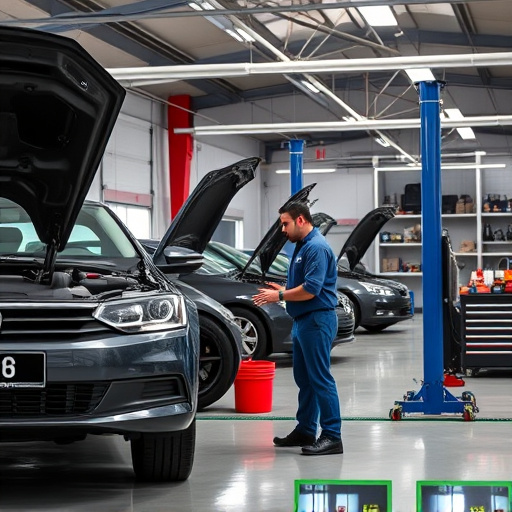
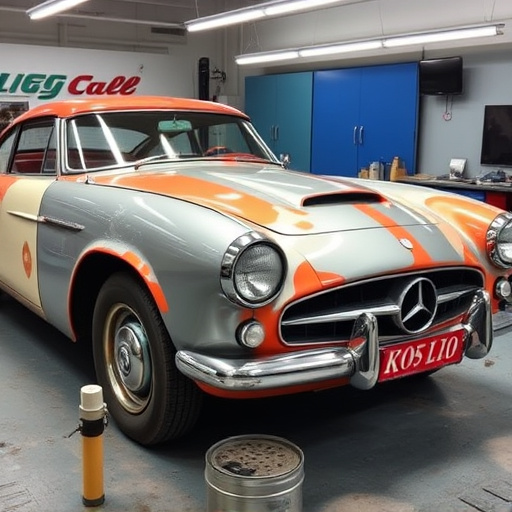
First, gather all necessary tools and materials, including the new cowl panel, screws, and any sealants recommended by the manufacturer. Next, prepare the workspace by parking the vehicle on a level surface and engaging the parking brake. Remove any loose debris from the area to be worked on, then protect nearby surfaces with drop cloths. Start by disconnecting any electrical components that might be in the path of removal, such as sensors or wires. Next, carefully demount the old cowl panel, taking note of how it’s attached and in what order. Once removed, inspect the underlying structure for any damage or corrosion. After cleaning the area thoroughly, position the new panel, ensuring all alignment marks align correctly. Secure it temporarily to verify fitment before permanently attaching it using the appropriate fasteners. Finally, apply any recommended sealants to prevent future issues and ensure a watertight seal. Remember that proper cowl panel replacement not only enhances your vehicle’s appearance but also contributes to overall auto body services and collision repair quality.
Cowl panel replacement is not just an aesthetic choice, but a functional one for custom and performance vehicles. By addressing common issues like corrosion, damage, or outdated design, vehicle owners can enhance both the look and performance of their cars. Following best practices outlined in this guide ensures a seamless process, allowing you to navigate the task with ease and enjoy the improved aesthetics and potential increased performance of your vehicle. Remember, a well-maintained cowl panel is key to preserving the overall health and value of your ride.