
Cowl panels require timely attention due to damage risk from collisions. Replace severe damaged panels with professional services for accurate diagnostics and seamless installations. Follow a systematic approach: wear protective gear, assess damage, gather tools, remove old panel, install new one, test components, and double-check alignment. Avoid common mistakes like using subpar parts or misalignment for long-lasting, aesthetically pleasing, and structurally sound repairs.
“Extending your vehicle’s lifespan starts with addressing common issues like cowl panel damage. This guide delves into the essential practice of cowl panel replacement, a crucial repair for maintaining your car’s structural integrity and aesthetic appeal. By understanding damage causes, following a detailed step-by-step process, and avoiding typical mistakes, you can ensure a successful fix. Whether novice or seasoned mechanic, this article equips you with the knowledge to tackle cowl panel replacements effectively.”
- Understanding Cowl Panel Damage and Its Causes
- Step-by-Step Guide to Efficient Replacement
- Common Mistakes to Avoid During Repair Process
Understanding Cowl Panel Damage and Its Causes
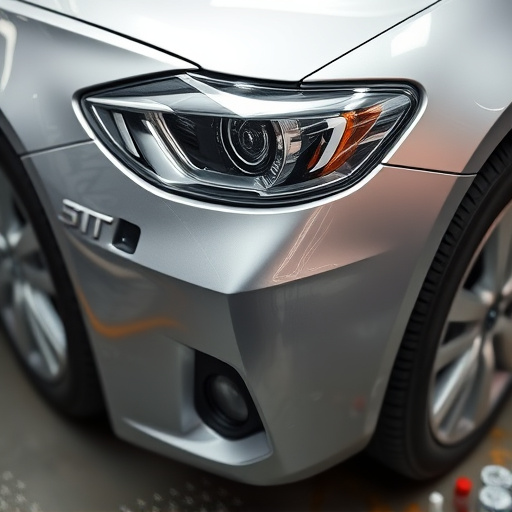
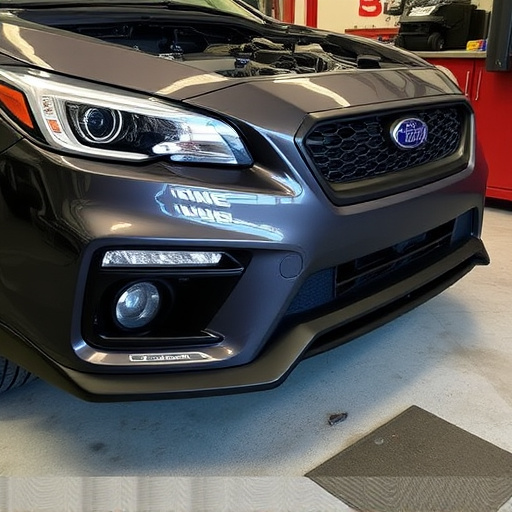
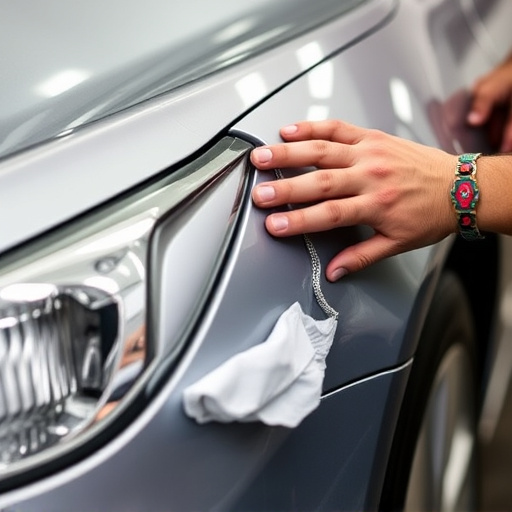
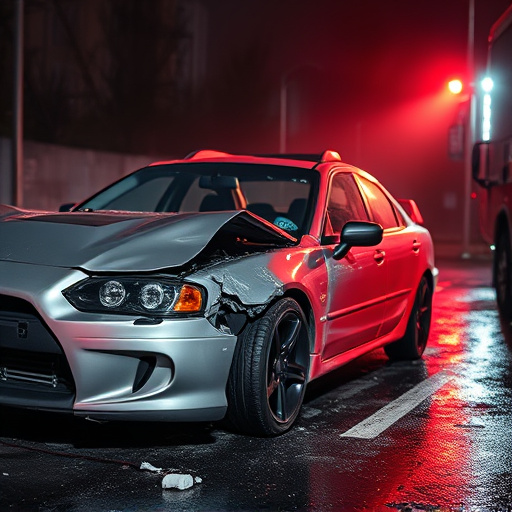
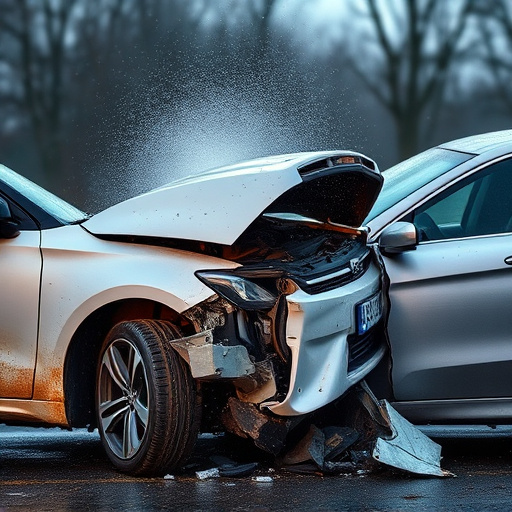
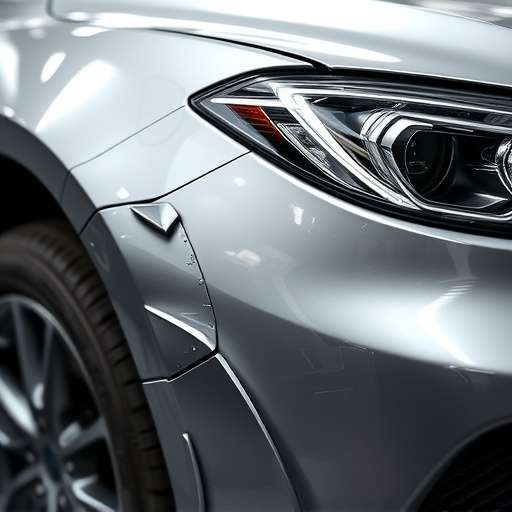
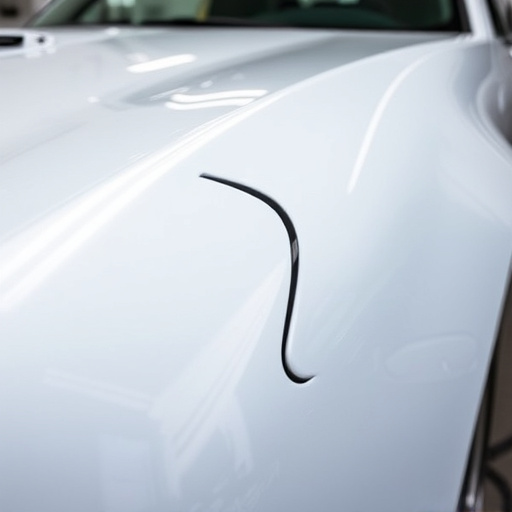
Cowl panels are a crucial component of a vehicle’s exterior, serving as both a functional part that contributes to engine cooling and an integral piece of the car’s aesthetic appeal. Damage to these panels can arise from various factors, with car collisions being one of the most common causes. When a cowl panel is damaged due to a collision or other incidents, it not only affects the vehicle’s performance but also its overall appearance.
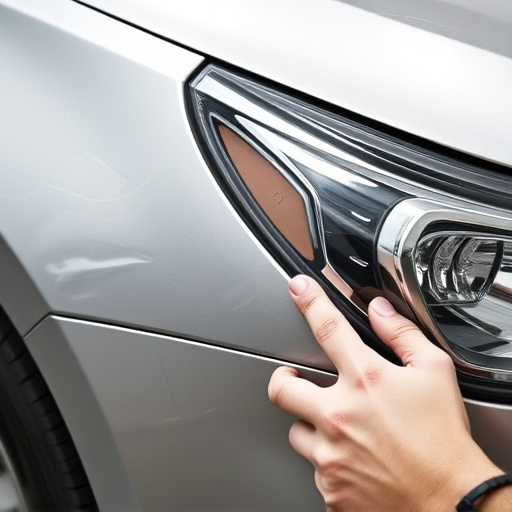
In many cases, minor dents, scratches, and cracks may be easily repairable through simple fixes like dent removal or paint touch-ups. However, more severe damage might require a complete cowl panel replacement. Neglecting to address these issues promptly can lead to further complications, such as rust buildup or compromised structural integrity. Therefore, recognizing the signs of cowl panel damage and understanding when a replacement is necessary is vital in ensuring proper car collision repair and maintaining the vehicle’s long-term performance and value. Opting for professional automotive body shop services for both diagnostics and repairs can help avoid common mistakes and ensure a seamless cowl panel replacement process.
Step-by-Step Guide to Efficient Replacement
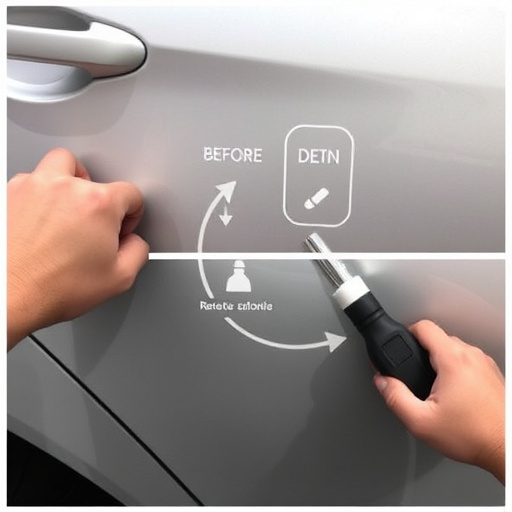
Replacing a cowl panel is a common repair task for many vehicle owners, but it’s crucial to approach it systematically to avoid mistakes. Here’s a step-by-step guide that can help make the process smoother and more efficient:
1. Safety First: Before you begin, ensure your safety by wearing protective gear, including gloves and eye protection. This is not just about personal safety; it also ensures that no debris or parts enter your eyes during the removal process.
2. Assess the Damage: Carefully inspect the cowl panel and surrounding areas to identify the extent of damage caused by accidents or impact. Take note of any loose parts, dents, or cracks. This step is vital as it determines the specific replacement parts you’ll need.
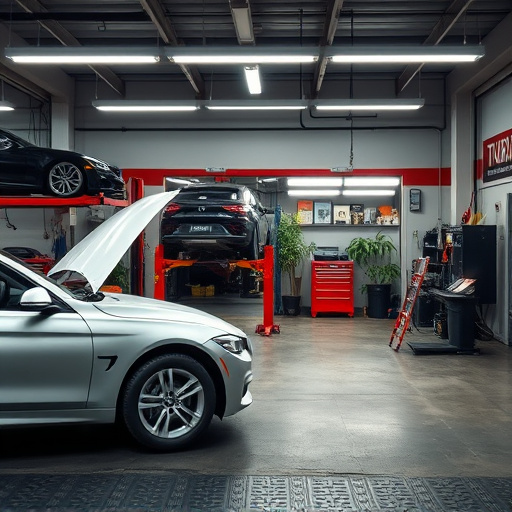
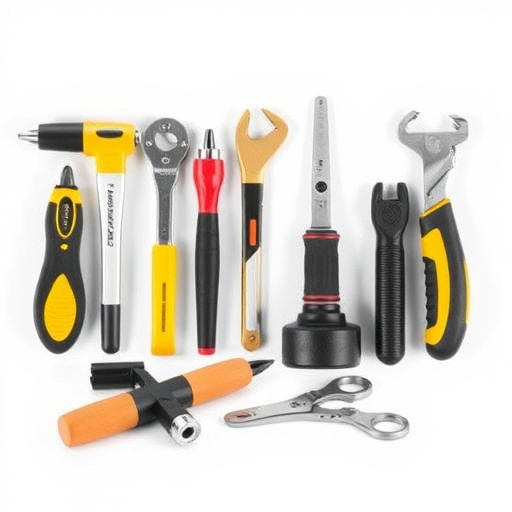
3. Gather the Right Tools: Obtain all necessary tools, such as jack stands, a floor jack, socket sets, ratchets, and any specialized tools required for your vehicle. A collision repair shop can be a great resource for understanding what tools are essential for your car’s make and model.
4. Remove the Cowl Panel: Using the appropriate tools, carefully lift and remove the damaged cowl panel. This process may vary depending on your vehicle; some models might require additional steps to access and detach the panel securely.
5. Install New Panel: Fit the new cowl panel into place, ensuring it aligns correctly with the vehicle’s body. Secure it using the appropriate hardware, following the manufacturer’s guidelines for proper fastening techniques.
6. Test and Adjust: After installation, test all related components, such as sensors or lights, to ensure they function correctly. Make any necessary adjustments to ensure a seamless fit and finish.
Common Mistakes to Avoid During Repair Process
When undertaking a cowl panel replacement, whether it’s due to damage from an accident or wear and tear, there are several common mistakes that DIY enthusiasts and even seasoned automotive repair technicians tend to make. One of the primary blunders is attempting a hasty fix without proper planning. This often involves using subpar parts or skimping on preparation, leading to future issues such as rust and poor paint finish. Taking the time to source genuine OEM (Original Equipment Manufacturer) panels and ensuring the area is thoroughly cleaned and prepared is paramount for long-lasting results.
Another mistake to avoid during a cowl panel replacement is improper alignment. This can occur when hurrying through the process or not following the vehicle’s specific service manual. Misaligned panels may result in an unsightly appearance, with gaps or uneven edges visible upon completion of the repair. Therefore, it’s crucial to take your time, double-check each step, and use the appropriate tools for accurate measurement and installation. These considerations can save you from costly collision repair services down the line, ensuring your vehicle retains its aesthetic appeal and structural integrity.
When carrying out a cowl panel replacement, understanding potential damage causes and common mistakes is key to ensuring a durable repair. By following a structured process and avoiding pitfalls discussed in this article, you can effectively replace your cowl panel, enhancing vehicle aesthetics and performance. Remember, proper execution of a cowl panel replacement can significantly impact both the car’s visual appeal and its overall functionality, making it a crucial maintenance task not to overlook.