

A damaged cowl panel can compromise vehicle safety and stability, necessitating prompt replacement. This guide, aimed at long-distance drivers, offers a step-by-step process for replacing cowl panels, emphasizing safety protocols, professional assistance for complex jobs, meticulous preparation, installation alignment with vehicle frame, function testing, and adjustments for seamless fit and restored aesthetics.
Long-distance travelers know the importance of reliable vehicle maintenance. One often overlooked component that can affect your drive is the cowl panel. Over time, this panel protecting vital engine components can become damaged from road debris or extreme weather. This article guides long-distance drivers through the process of replacing a damaged cowl panel, outlining key considerations and providing a step-by-step tutorial for a successful DIY repair or professional installation. Learn why replacement is crucial and discover the benefits of a sturdy, well-functioning cowl panel.
- Understanding Your Vehicle's Cowl Panel
- Benefits of Replacing a Damaged Cowl Panel
- Step-by-Step Guide to Cowl Panel Replacement
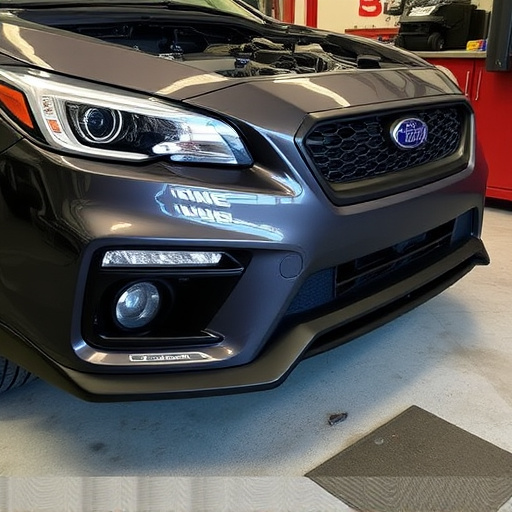
Understanding Your Vehicle's Cowl Panel
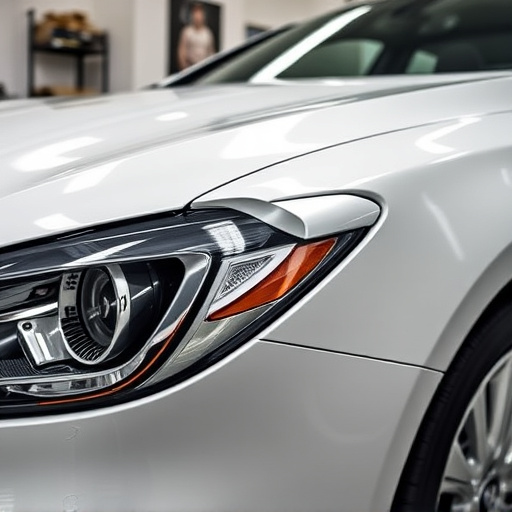
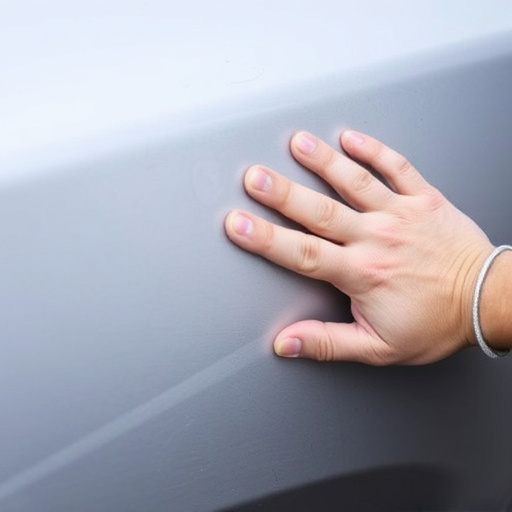
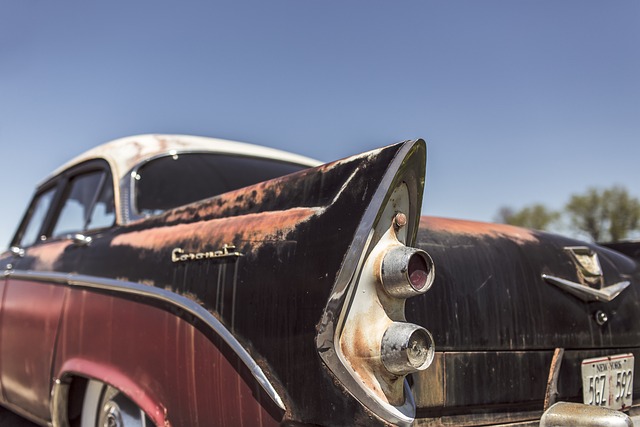
The cowl panel, located at the front of your vehicle, plays a crucial role in both its aesthetics and structural integrity. This panel is an integral part of your car’s body, covering and protecting vital components like the engine and transmission. Understanding its structure and function is essential when considering a cowl panel replacement, especially for long-distance travelers who may be more exposed to challenging road conditions.
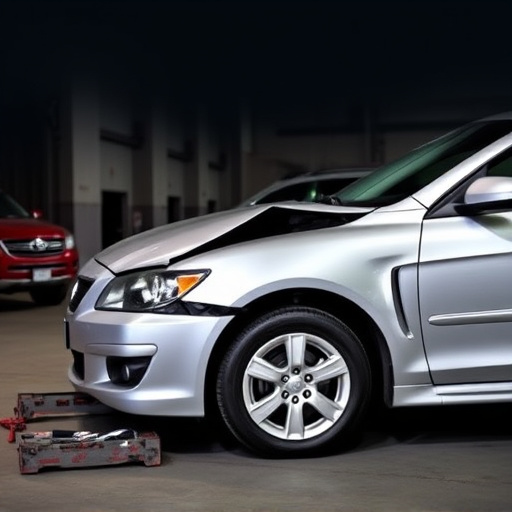
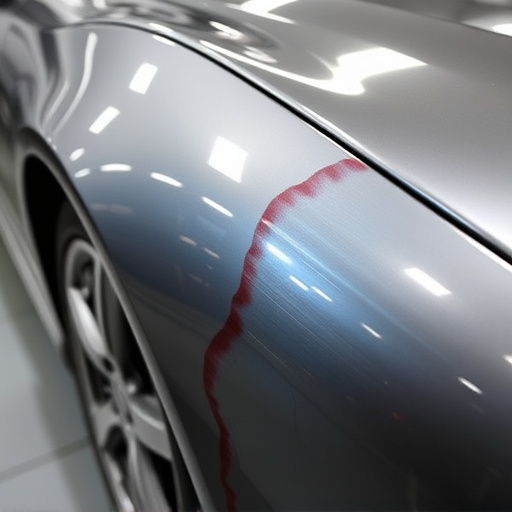
A cowl panel replacement might be necessary due to various reasons, such as damage from collisions or exposure to harsh elements. If your vehicle has sustained front-end damage, it’s crucial to visit a reputable vehicle body shop that specializes in collision repair. Skilled technicians will assess the extent of the damage and determine if the cowl panel needs to be replaced. This process involves precise cutting, fitting, and painting to ensure a seamless finish and the restoration of your vehicle’s structural integrity, which is vital for safety and reliability during long-distance travels.
Benefits of Replacing a Damaged Cowl Panel
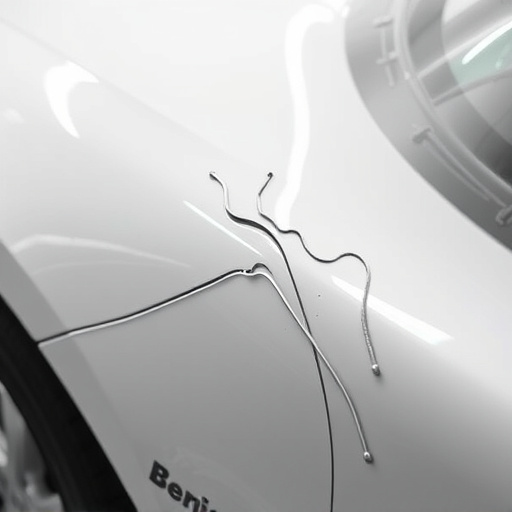
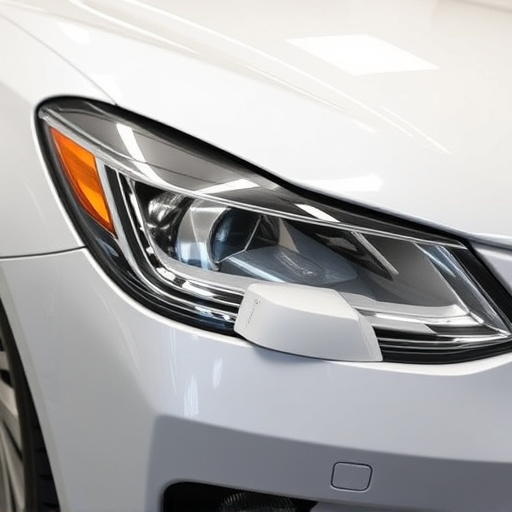
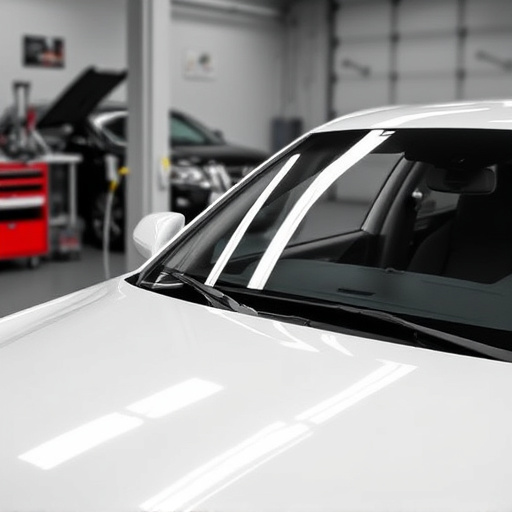
A damaged cowl panel, often caused by collisions or severe weather events like hailstorms, can pose more than just an aesthetic issue for long-distance vehicle owners. Promptly addressing this problem through a cowl panel replacement offers several advantages that contribute to both the safety and longevity of your vehicle.
Firstly, replacing a damaged cowl panel is essential in ensuring optimal structural integrity. The cowl panel acts as a protective barrier, shielding vulnerable components beneath it from debris during travel. A compromised cowl panel can lead to increased vulnerability to further damage, compromising the overall stability and safety of your vehicle, especially at high speeds. Moreover, a timely cowl panel replacement is a key step in collision repair and hail damage repair processes, helping to prevent more extensive and costly car body repair issues down the line.
Step-by-Step Guide to Cowl Panel Replacement
Replacing a cowl panel is a crucial task for long-distance vehicle owners looking to maintain their rides’ integrity and aesthetic appeal, especially after an auto collision or during routine maintenance. Here’s a step-by-step guide to help you through the process:
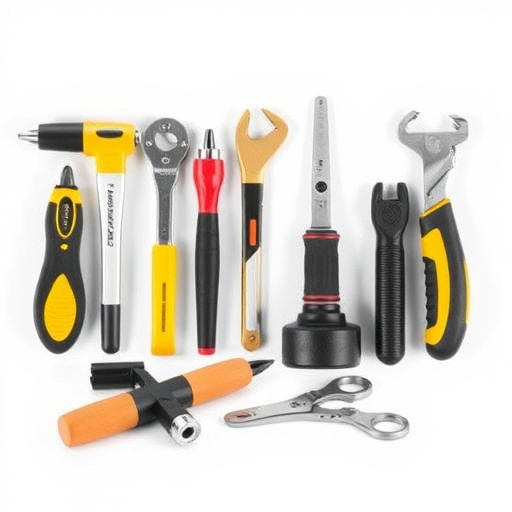
1. Safety First: Ensure your vehicle is securely parked and all necessary safety equipment is in place before beginning any repairs. This includes gloves, safety glasses, and appropriate tools. For complex jobs, consider seeking assistance from a professional auto collision center or skilled mechanic.
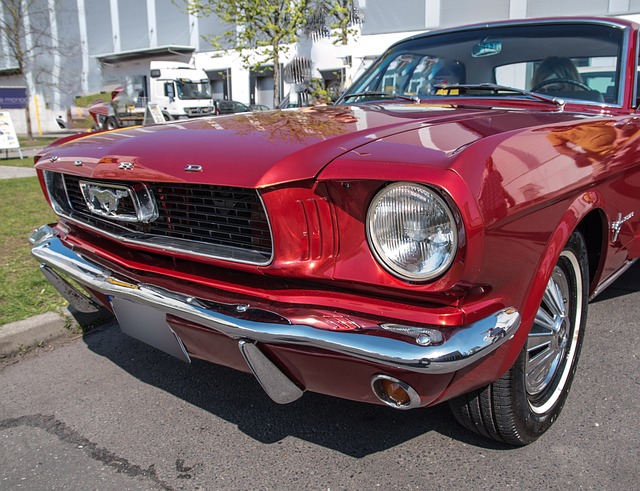
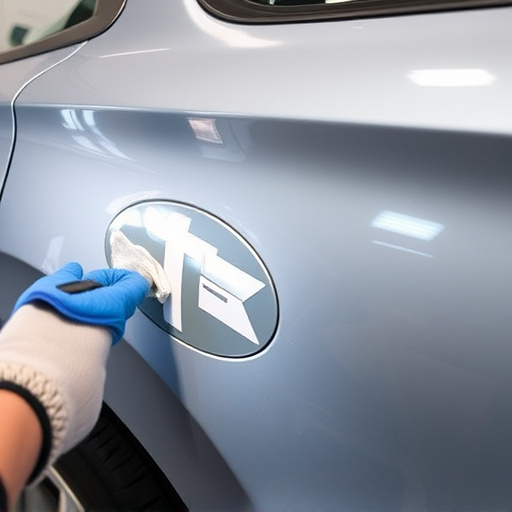
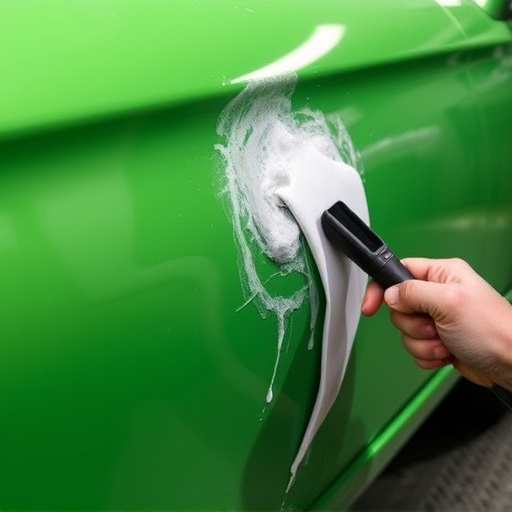
2. Inspect and Prepare: Carefully inspect the existing cowl panel for damage, corrosion, or signs of wear. If it’s severely damaged, you might need to source a new one, considering options available for classic car restoration projects if you own an antique vehicle. Clean the area thoroughly; remove any debris or old adhesive residue.
3. Remove the Old Panel: Using the right tools, carefully pry off the damaged cowl panel. This step may vary depending on your vehicle’s make and model, so refer to your owner’s manual for specific instructions. Once removed, clean the surrounding area and ensure all edges are smooth for a proper fit of the new panel.
4. Install the New Panel: Position the new cowl panel carefully, ensuring it aligns with the vehicle’s frame and adjacent panels. Secure it in place using appropriate fasteners, such as screws or brackets, matching the original installation method. Tighten securely but be mindful not to overtighten to avoid damage.
5. Test and Adjust: After installation, test all functions related to the cowl panel, like vents or lights, if applicable. Double-check for any leaks and make adjustments as needed. Finally, inspect your work from various angles to ensure a seamless fit and a restored vehicle body repair that matches the car’s overall aesthetic.
For long-distance vehicle owners, regular maintenance is key to ensuring your car remains in top condition. One often overlooked yet crucial component is the cowl panel. By learning how to identify signs of damage and understanding the benefits of replacement, you can keep your vehicle’s structure and paint job intact. Following a step-by-step guide for cowl panel replacement allows you to take control of your vehicle’s upkeep, enhancing its overall performance and aesthetics. Don’t let a damaged cowl panel go unnoticed—take action today with these valuable insights on effective cowl panel replacement practices.