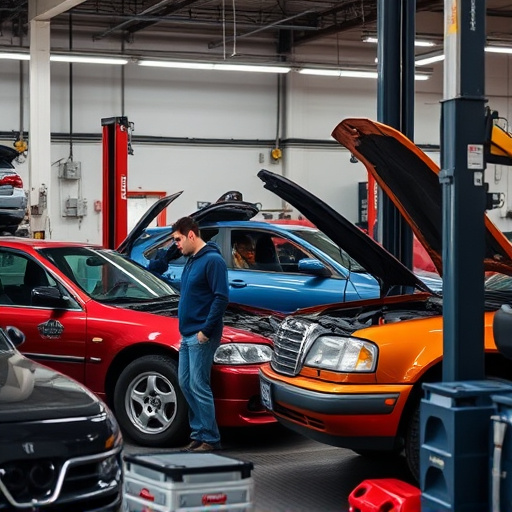


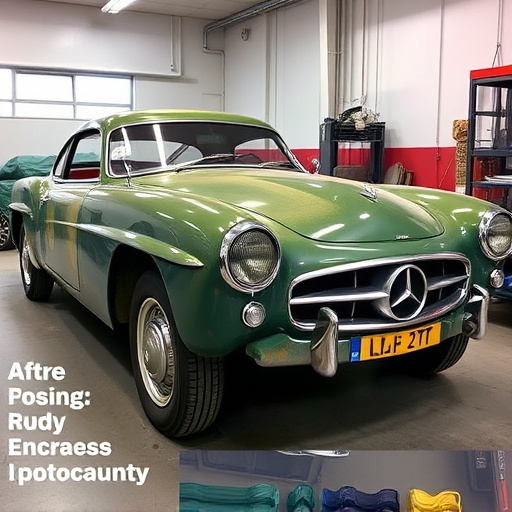
Cowl panel replacement is essential for vehicle safety and aesthetics due to its housing of critical components. Auto body shops use specialized tools and techniques for precise replacements, matching original design and functionality. This involves careful preparation, using high-quality parts, and meticulous painting to prevent corrosion and restore vehicle integrity.
Cowl panels, the protective outer covering of a vehicle’s engine compartment, can sustain significant damage from accidents or harsh weather conditions. Prompt and proper cowl panel replacement is crucial for reliable vehicle repairs. This comprehensive guide delves into understanding common cowl panel damage, provides a step-by-step replacement process, and offers best practices to ensure long-lasting repairs. Mastering these techniques allows auto enthusiasts and professionals alike to effectively maintain vehicle aesthetics and functionality.
- Understanding Cowl Panel Damage and Its Impact
- Step-by-Step Guide to Successful Replacement
- Ensuring Longevity: Best Practices for Repair
Understanding Cowl Panel Damage and Its Impact
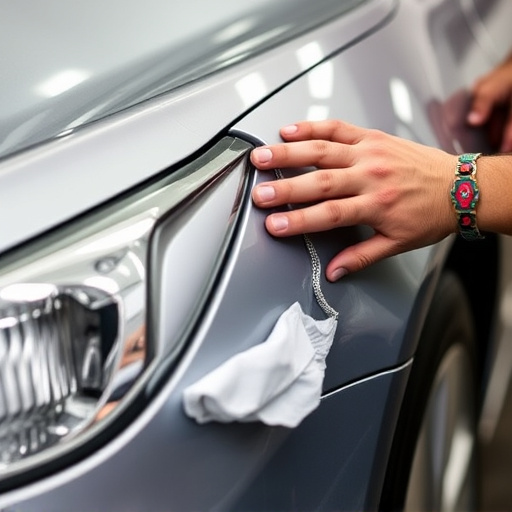
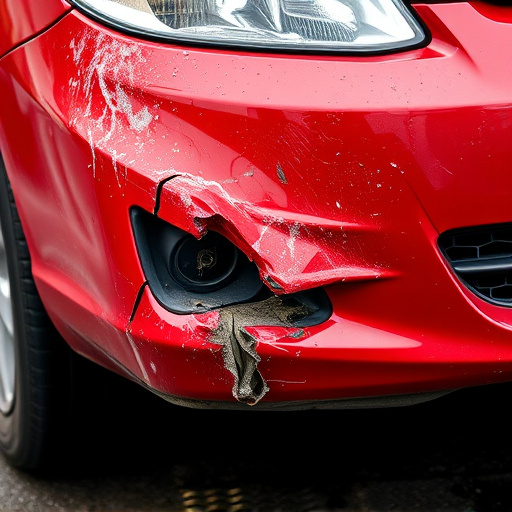
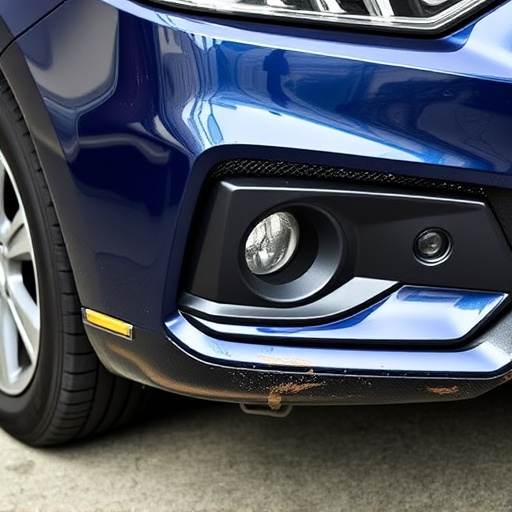
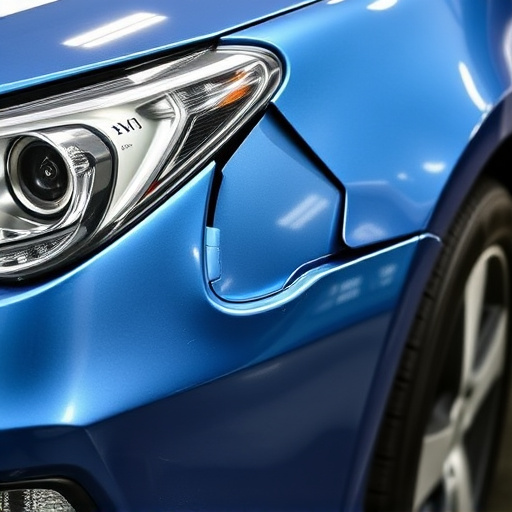
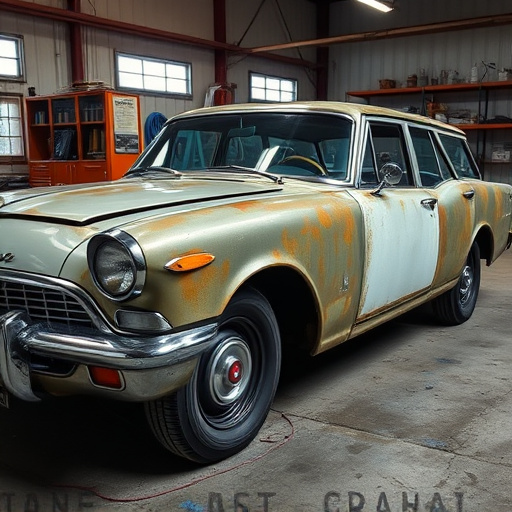
Cowl panel damage can occur due to various reasons, including accidents, road debris impact, or corrosion over time. This structural component plays a vital role in vehicle safety and aesthetics. Its intricate design not only contributes to the car’s overall structure but also houses essential components like air bags and sensors. When the cowl panel is compromised, it can lead to functional issues and compromise the integrity of the vehicle.
Repairs often involve meticulous cowl panel replacement techniques specific to each make and model. Auto body shops skilled in these repairs use specialized tools and precision techniques to ensure a perfect fit. Efficient cowl panel replacement not only enhances the safety features of the vehicle but also restores its pre-damage beauty, making it an essential step in comprehensive car repair services.
Step-by-Step Guide to Successful Replacement
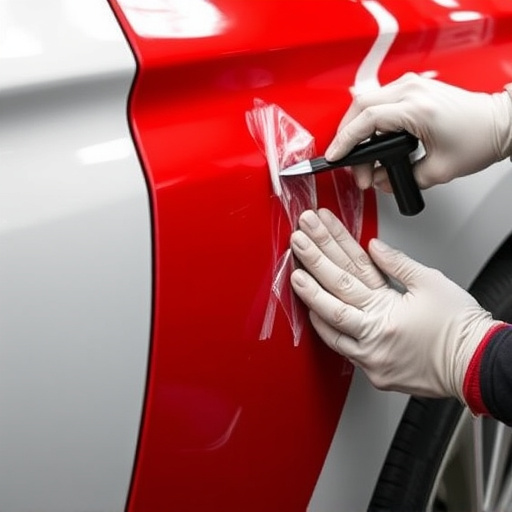
Replacing a cowl panel is a common task in vehicle body shops, especially after collisions or when a car needs significant cosmetic restoration. Here’s a step-by-step guide to ensure successful replacement:
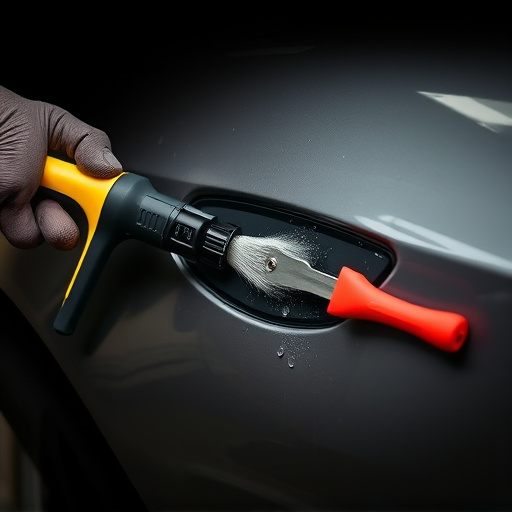
1. Preparation: Begin by thoroughly cleaning and inspecting both the damaged cowl panel and the surrounding area of your car. Remove any debris or loose parts that might obstruct access. Gather all necessary tools, including a jack, jack stands, a new cowl panel (ensure it’s compatible with your vehicle model), and any required hardware.
2. Removal: Next, carefully lift the vehicle using the jack and secure it safely with jack stands for stability. Disconnect any electrical components or sensors attached to the cowl panel, taking note of their original positions. Then, carefully unbolt and remove the old panel. Clean the area, ensuring it’s free from rust or debris that might affect adhesion during installation.
Ensuring Longevity: Best Practices for Repair
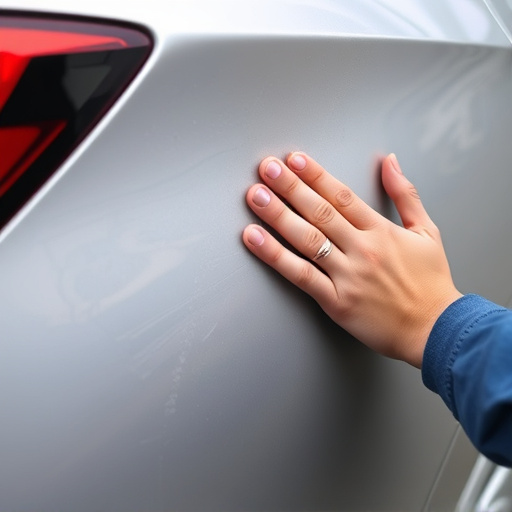
When it comes to cowl panel replacement, ensuring longevity is paramount for reliable vehicle repairs. The cowl panel, which separates the engine compartment from the passenger cabin, is a crucial component that requires meticulous attention during the repair process. To guarantee durability, professional technicians adhere to best practices such as using high-quality replacement parts that match the original specifications. Proper frame straightening techniques are essential to maintain the structural integrity of the vehicle, preventing future alignment issues and ensuring a seamless fit for the new cowl panel.
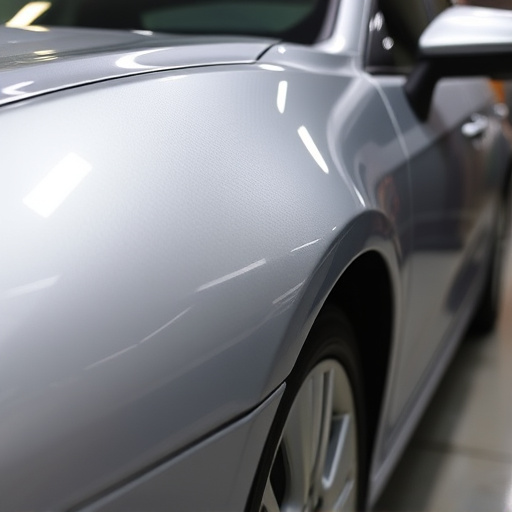
Moreover, expert craftsmanship involves precise measurements and careful painting to match the existing car paint services. This meticulous approach not only enhances the visual appeal but also safeguards against corrosion, which can significantly impact long-term vehicle health. By combining these best practices, vehicle repair services can deliver a robust and reliable cowl panel replacement that restores the safety, performance, and aesthetic value of the vehicle.
Cowl panel replacement is a crucial aspect of reliable vehicle repairs, addressing not just cosmetic issues but also ensuring structural integrity. By understanding the damage, following a meticulous step-by-step guide, and adopting best practices, automotive professionals can effectively replace cowl panels, maintaining the safety and value of the vehicle. These techniques are essential for delivering high-quality repairs that stand the test of time.