
Cowl panel replacement is a vital auto body repair process involving careful assessment, disassembly, cutting out damaged panels, and fitting new ones to maintain structural integrity and enhance safety/aesthetics. Shops prepare with correct tools, PPE, ventilation, and access to specialized facilities. This common task, outlined in a step-by-step guide, ensures efficient removal, precise installation, minimal downtime, and maintained vehicle bodywork integrity.
In auto body repair, the cowl panel acts as a crucial shield, protecting vital components beneath. Its condition significantly impacts overall vehicle performance and safety. This guide breaks down the essential steps for replacing a cowl panel in professional shops, ensuring a robust and secure fix. We’ll explore preparations, safety measures, and a detailed process, empowering technicians to efficiently tackle this critical task with precision. Learn how to master the art of cowl panel replacement for optimal vehicle health.
- Understanding the Cowl Panel's Role in Auto Bodywork
- Gathering Tools and Safety Precautions Beforehand
- Step-by-Step Guide to Efficient Cowl Panel Replacement
Understanding the Cowl Panel's Role in Auto Bodywork
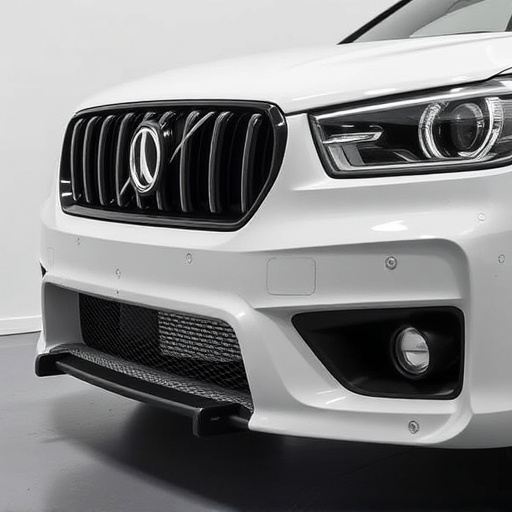
The cowl panel, a significant component in automobile bodywork, serves as a crucial shield and structural support. It’s located at the front of the vehicle, above the engine and under the hood, providing protection to vital components from road debris, impacts, and other potential hazards during a vehicle collision repair. In automotive restoration or car repair shop settings, understanding the cowl panel’s role is essential for ensuring both safety and aesthetic appeal.
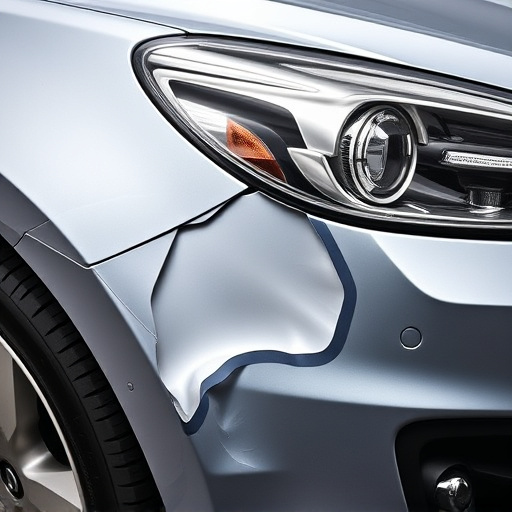
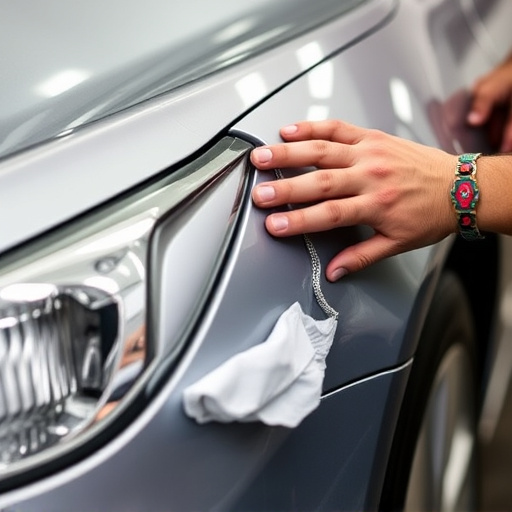
During a cowl panel replacement, experts in auto body repair shops carefully assess the damage, disassemble affected parts, and precisely cut out the damaged cowl panel. This process involves skilled craftsmanship to fit new panels seamlessly, maintaining the vehicle’s structural integrity while restoring it to its original condition. A successful cowl panel replacement not only improves safety but also enhances the overall look of the car repair shop’s work in automotive restoration.
Gathering Tools and Safety Precautions Beforehand
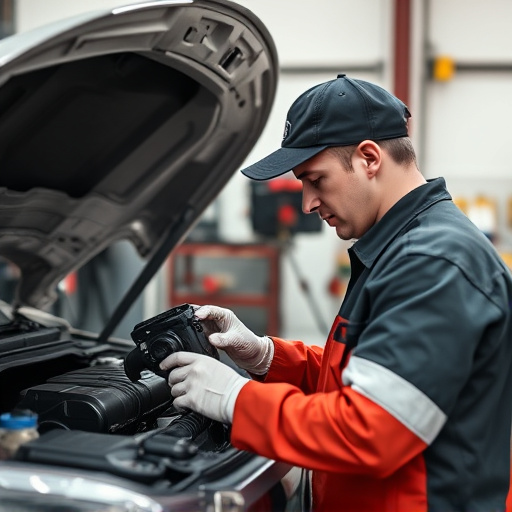
Before initiating a cowl panel replacement, auto body repair shops must ensure they have all the necessary tools and safety precautions in place. This includes gathering specific hardware such as replacement panels, screws, rivets, or adhesive bonding agents, depending on the car model and type of damage. Additionally, personal protective equipment (PPE) is paramount to safeguard mechanics from debris, fumes, or potential injuries during the process. Safety goggles, work gloves, and respirators are essential components in any collision repair shop’s toolkit for tasks like cowl panel replacement.
Proper ventilation and a clean workspace further ensure the efficiency and safety of the operation. Given that cowl panel replacements often involve working with diverse materials and chemicals, having access to tire services or other specialized facilities within the collision center can significantly enhance the overall quality and speed of the repair process.
Step-by-Step Guide to Efficient Cowl Panel Replacement
Cowl panel replacement is a common task in auto body repair shops, often required after fender benders or to restore a vehicle’s original aesthetics. Here’s a step-by-step guide to ensure efficient cowl panel replacement:
1. Safety First: Begin by ensuring the work area is well-lit and clear of debris. Put on safety gear, including gloves, goggles, and protective clothing. This step is crucial for both worker safety and maintaining a clean environment.
2. Remove Damaged Parts: Carefully dismantle the damaged cowl panel using appropriate tools. Start by loosening any screws or bolts securing the panel in place. Then, gently pull the panel away from the vehicle’s body, taking note of its position and any connected components. For fleet repair services, efficient removal is key to minimizing downtime.
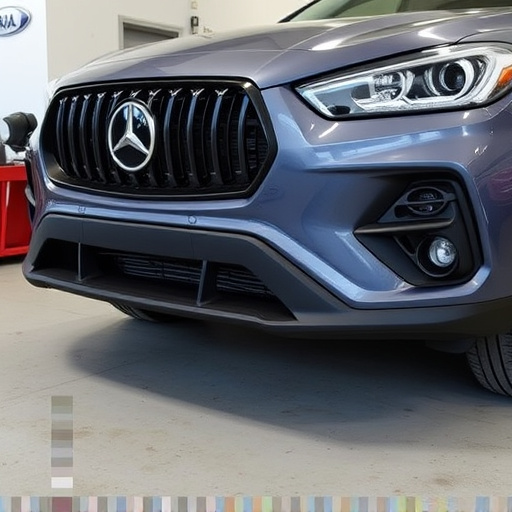
3. Inspect the New Panel: Ensure the replacement cowl panel is free from defects and matches the original specifications. Double-check its size, shape, and curvature to guarantee a perfect fit. This step is vital to maintaining the vehicle’s structural integrity and aesthetic appeal.
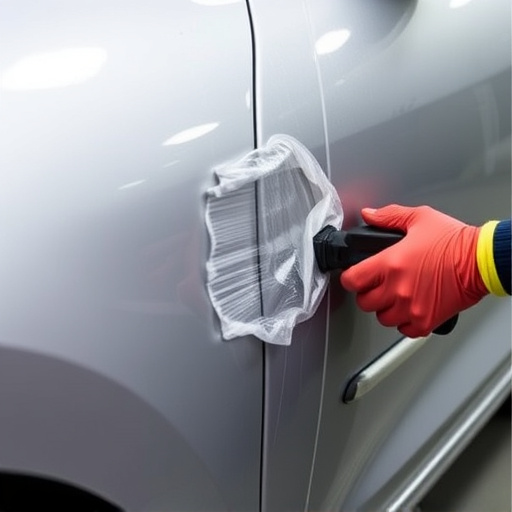
4. Prepare the Surface: Clean the area where the new panel will be installed. Remove any remaining debris or old adhesive from the vehicle’s body. A clean surface ensures better bonding and longevity of the replacement part.
5. Install the New Panel: Position the new cowl panel carefully, aligning it precisely with the vehicle’s body. Secure it in place using new screws or bolts, ensuring they are tight but not over-torqued. Proper alignment is essential to prevent future damage.
6. Test and Adjust: After installation, test the panel’s functionality, including any related mechanisms or openings. Make necessary adjustments to ensure smooth operation. This step often requires a keen eye for detail to achieve seamless vehicle bodywork.
Cowl panel replacement is a crucial aspect of auto body repair, ensuring not only structural integrity but also enhancing the vehicle’s overall aesthetics. By following the outlined steps and prioritizing safety, auto bodywork shops can efficiently restore damaged or worn-out cowl panels, contributing to the car’s longevity and visual appeal. This process, when executed properly, demonstrates the expertise of the shop in handling intricate repairs, leaving customers satisfied with the final results.