

Cowl panel replacements vary from simple cosmetic fixes like painting or plastic welding to complex structural repairs including frame straightening or complete panel replacement, depending on damage severity. Communication with experts ensures proper evaluation and treatment. Distinguish between structural and cosmetic damage; use high-quality panels for structural issues, affordable solutions for minor flaws. Follow a systematic approach: assess damage, gather materials, remove old panel, install new one, prime and paint for an attractive finish.
“Cowl panels, a vehicle’s exterior masterpiece, often bear the brunt of road debris and accidents. Distinguishing between structural and cosmetic damage is crucial for effective cowl panel replacement. This comprehensive guide breaks down the evaluation process, offering tailored solutions for each type of damage. From understanding the extent of the issue to executing a step-by-step repair, learn how to restore your vehicle’s exterior to its former glory. Discover the best practices for successful cowl panel replacement.”
- Understanding Cowl Panel Damage: Structural vs Cosmetic
- Evaluating Replacement Options for Different Damages
- Step-by-Step Guide to Effective Cowl Panel Replacement
Understanding Cowl Panel Damage: Structural vs Cosmetic
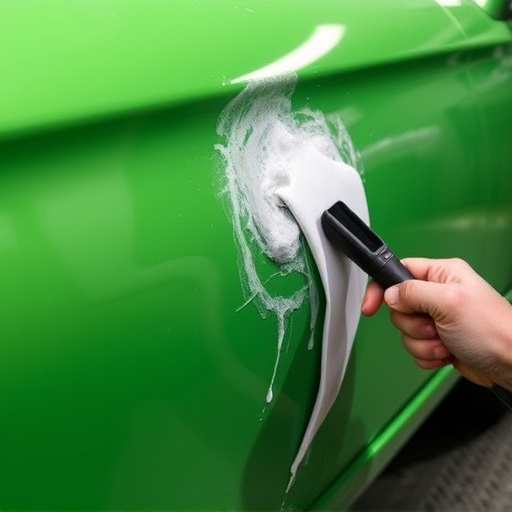
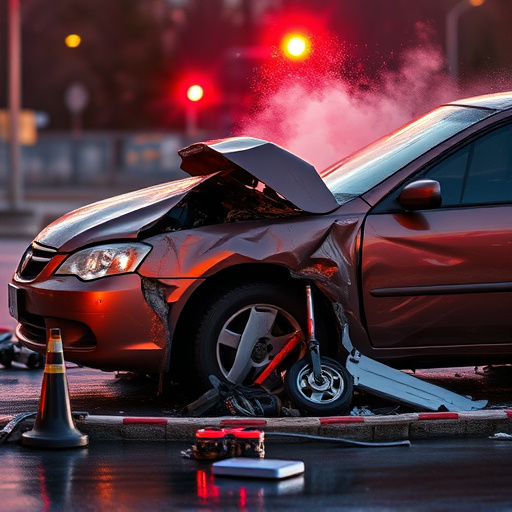
Cowl panel damage can vary greatly, from minor cosmetic issues to significant structural problems. Understanding this distinction is crucial when considering a cowl panel replacement. What appears as a simple dent or scratch may only require a quick fix to restore its aesthetics, involving techniques like painting or plastic welding. However, deeper impacts, often caused by collisions or accidents, can compromise the panel’s integrity and structural stability of the vehicle. These cases necessitate more involved repairs, such as frame straightening or even complete replacement, ensuring both safety and long-term performance.
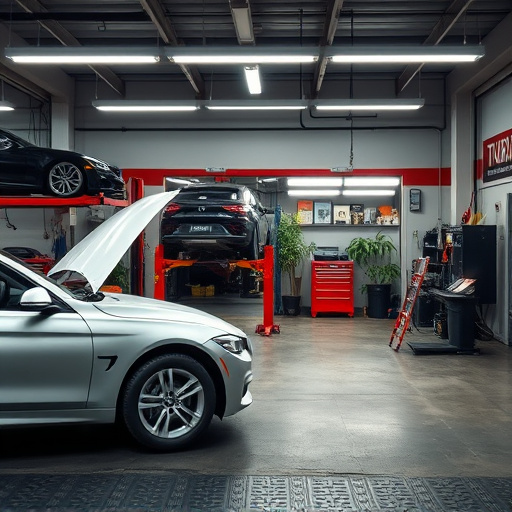
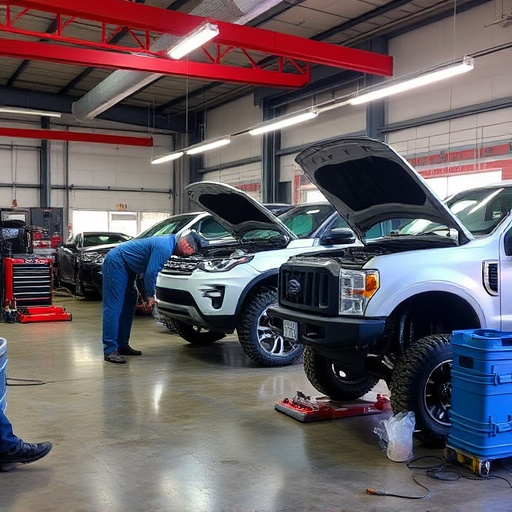
When visiting a collision repair shop or car repair shop for cowl panel replacement, it’s essential to communicate clearly about the extent of the damage. Skilled technicians will assess whether the issue is primarily cosmetic, requiring minimal fixes, or if more intensive measures like frame straightening are necessary to address underlying structural damage. Proper evaluation and treatment ensure a safe and reliable vehicle after the repair.
Evaluating Replacement Options for Different Damages
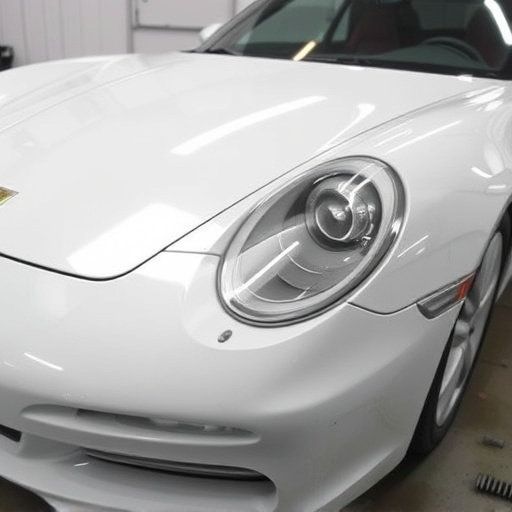
When considering a cowl panel replacement, it’s crucial to differentiate between structural and cosmetic damage. Structural harm, often caused by severe accidents or impact, requires meticulous attention. In such cases, opting for high-quality, precision-engineered replacement panels is essential for safety and longevity. These panels are designed to accurately fit the vehicle’s contours, ensuring structural integrity and a solid defense against future issues.
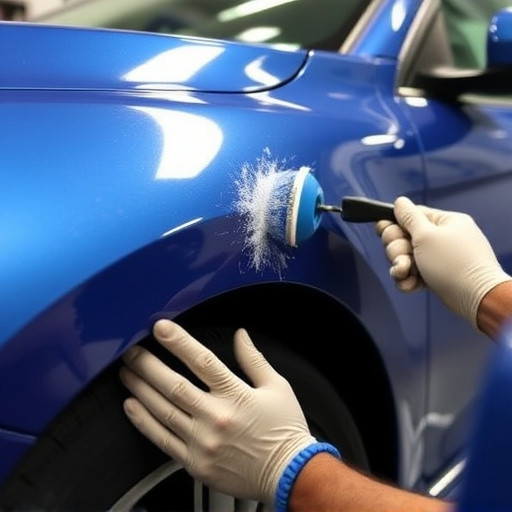
Cosmetic damage, on the other hand, like dents or minor scratches from hailstorms or parking incidents, presents a different challenge. Auto body repairs for these issues can range from simple dent removal to more complex processes. For minor cosmetic flaws, pre-fabricated cowl panel replacements might be sufficient, offering both an affordable and effective solution. However, for severe cases, custom fabrication may be necessary, allowing for precise restoration of the vehicle’s original aesthetics.
Step-by-Step Guide to Effective Cowl Panel Replacement
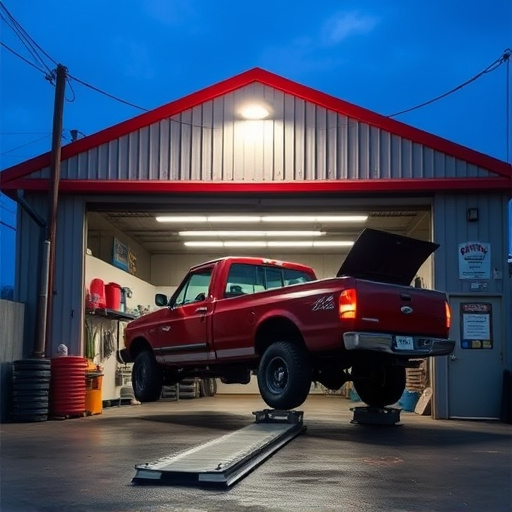
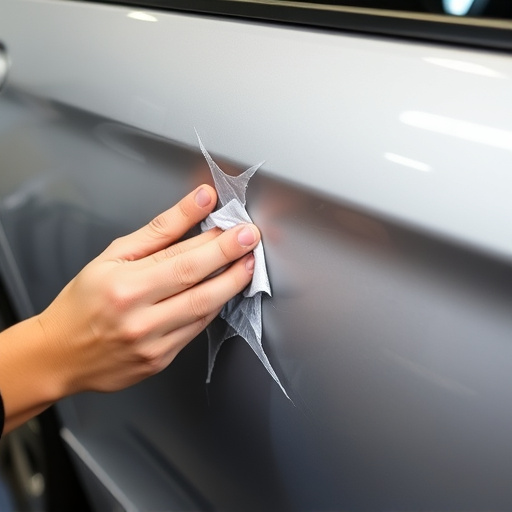
When it comes to cowl panel replacement, whether for structural or cosmetic damage, a step-by-step approach ensures the job is done right. First, assess the extent of the damage. If the panel is severely dented or has significant structural integrity issues, professional auto body repairs will be necessary. However, for smaller scratches or minor dents, paintless dent repair techniques can offer an effective and less invasive solution.
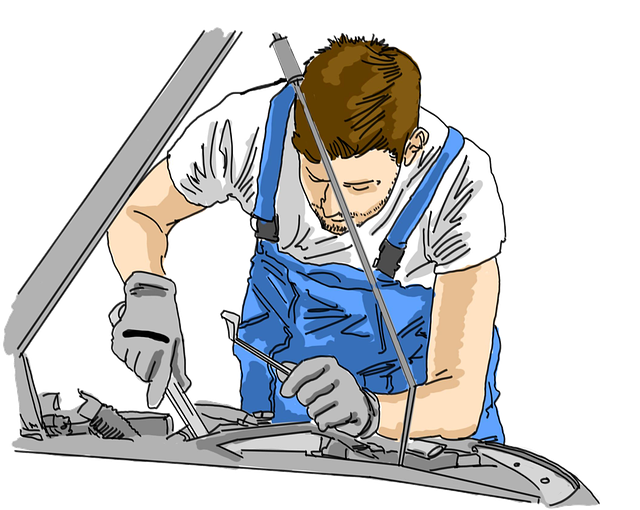
Next, gather the necessary tools and materials, including replacement cowl panels (ensure they’re the correct size and fit), hardware, and any primers or paints required. Carefully remove the damaged panel, taking note of how it attaches to the vehicle. With the old panel off, inspect the underlying surface for any additional damage that needs addressing. Once prepared, install the new cowl panel, securing it with the appropriate hardware. Finally, if necessary, apply a coat of primer and then paint to match the existing finish, ensuring a seamless and attractive repair.
When it comes to cowl panel replacement, understanding the distinction between structural and cosmetic damage is key. By evaluating your vehicle’s specific needs, you can choose from various options, including DIY repairs or professional services. Following a systematic approach outlined in this guide ensures effective cowl panel replacement, enhancing both functionality and aesthetics for a seamless driving experience. Remember, prompt action on damaged panels prevents further complications, ensuring your vehicle remains a reliable companion on the road. For effective solutions tailored to your needs, consider the experts – expert cowl panel replacements are readily available to restore your vehicle’s integrity.